
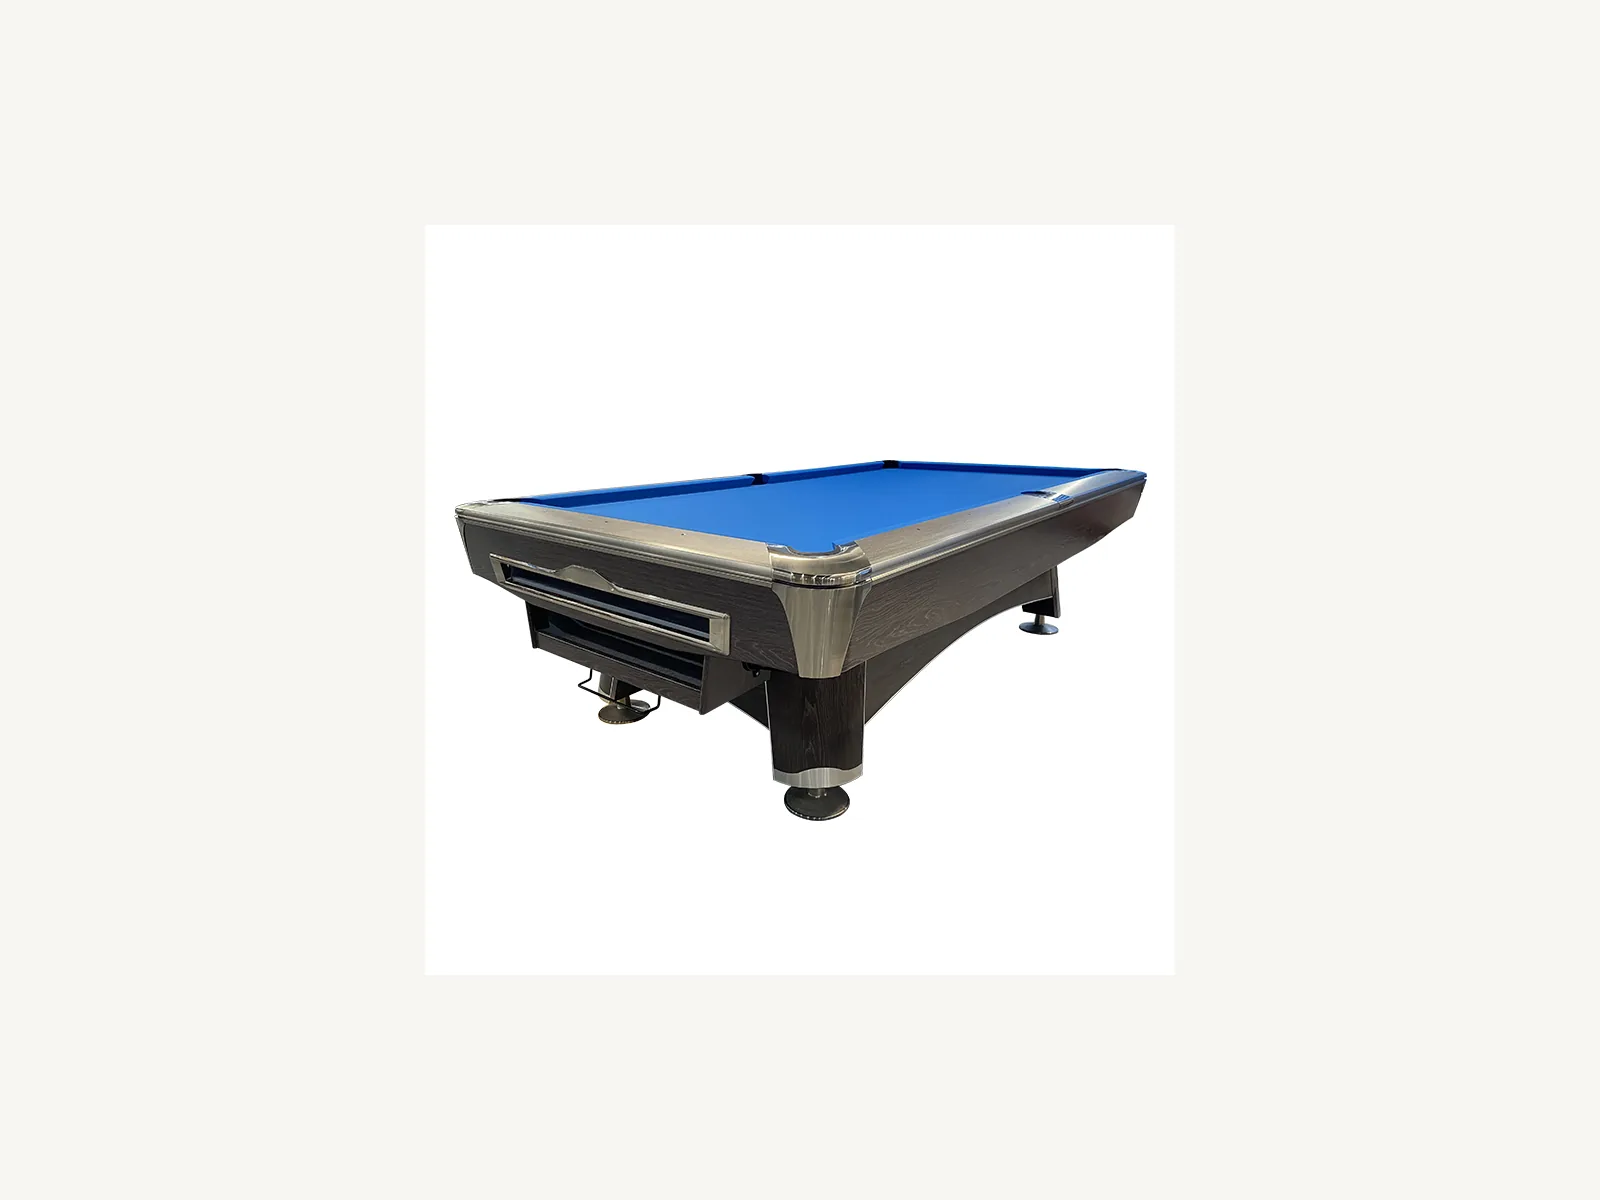
Start with the exact external table dimensions
Nine-foot is a playing-format label, not a substitute for the manufacturer drawing. Cabinet length, rail width, leg position and ball-return access vary by model.
Request the external dimensions and a dimensioned plan for the exact table under quotation. Use that drawing for the floor plan instead of a generic room-size chart.
- Overall length and width
- Playing-area dimensions
- Leg and leveling-point positions
- Service-panel and ball-return access
Add cue clearance on every side
Measure from the cushion nose to the nearest wall, column, cabinet or fixed furniture. The cue must move behind the player, so a narrow walkway is not the same as usable cue clearance.
If a room has one restricted zone, discuss shorter house cues for occasional shots. This can help a venue work around a column, but it should not replace adequate clearance around most of the table.
- Standard cue length used by the venue
- Wall and column positions
- Seating and cue-rack locations
- Door swings and circulation routes
Plan the light and ceiling together
Position the fixture over the playing surface with even illumination and without interfering with cue movement or sight lines. Confirm fixture dimensions, hanging height, electrical route and ceiling support before installation.
Clubs should also consider glare, reflected light and access for cleaning or replacement. Decorative lighting on the table does not remove the need for suitable playing-surface lighting.
Check delivery and installation access
Measure loading doors, corridors, lifts, stairs and final-room entrances. Slate sections, frame parts and long rails must reach the room safely.
Confirm floor loading, leveling conditions and the installer responsible for assembly. Ask the supplier for package dimensions and component identification before shipment.